
How to Install a Tubular Motor: A Complete Guide by WALTER

How to Install a Tubular Motor: A Complete Guide by WALTER
At WALTER, we specialize in providing advanced tubular motors for roller shutters, blinds, and awnings. Our motors are designed to offer quiet, efficient, and durable performance for both residential and commercial automation systems. Before you install a tubular motor, it’s essential to choose the right motor for your needs. This guide will take you through every step of the installation process, ensuring that your tubular motor operates smoothly and efficiently.
1. Preparation Before You Install a Tubular Motor
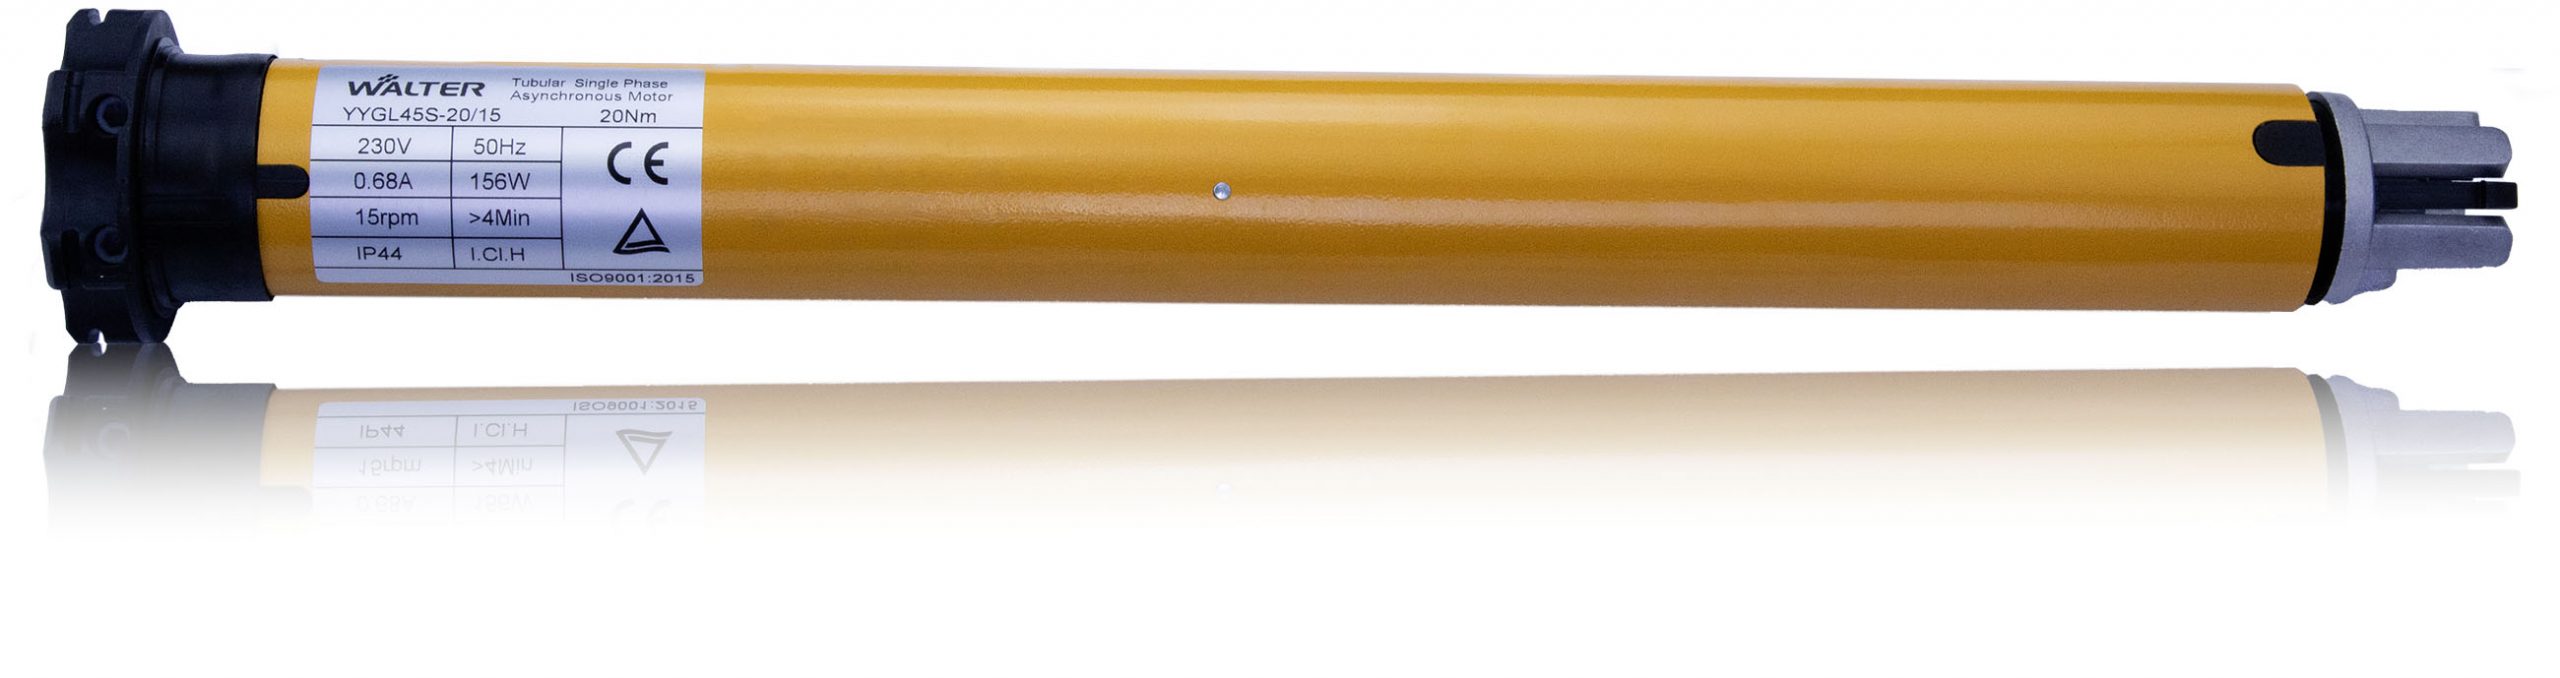
Before you install a tubular motor, it’s crucial to select the right motor for your application. You can refer to the motor selection chart on our website to help you choose the correct motor based on your specific requirements.
- How to Select the Right Tubular Motor:
- Torque: Choose the right torque based on the weight and size of your roller shutter, blind, or awning. Larger and heavier systems will require motors with higher torque.
- Speed: Depending on the speed at which you need your system to operate, select a motor with the appropriate speed.
- Tube Size: Make sure that the motor matches the diameter of the tube used in your system. Common sizes include 35mm, 45mm, and 60mm.
- Control Type: WALTER offers motors with built-in receivers for remote control, wall switches, or even fully automated control options.
- For more details on motor specifications, visit our Tubular Motor Selection Chart.
- Verify the Product and Accessories:
- Once you’ve selected the appropriate tubular motor, make sure all necessary components are included: motor, limit switches, remote control, mounting brackets, and any required adapters.
- Confirm that the motor is suitable for your roller shutters, blinds, or awnings.
- Prepare Your Tools:
- Ensure you have all the necessary tools for installation, such as screwdrivers, wrenches, power drills, measuring instruments (e.g., a level), scissors, and insulation tape.
- Check that your power tools are in working order and batteries are fully charged.
- Turn Off the Power:
- Always disconnect the power supply before starting the installation process to avoid any electrical hazards.
2. Install the Motor Shaft
- Determine the Installation Location:
- Based on the size of your roller shutters, blinds, or awning, determine the correct motor shaft length before you install a tubular motor.
- Use a level to ensure the installation is aligned perfectly.
- Install the Motor Shaft Bracket:
- Secure the motor shaft bracket at the designated location. The bracket must be firm and stable to provide support for the motor and prevent movement during operation.
- Align the motor shaft with the gear mechanism for smooth operation.
- Insert the Motor Shaft:
- Insert the motor shaft carefully into the mounting bracket or tube.
- Ensure the motor shaft is securely connected to the gear system.
3. Install the Tubular Motor
- Insert the Motor into the Tube:
- Place the tubular motor inside the tube or frame, ensuring that the motor’s shaft engages properly with the gear mechanism.
- Ensure the motor is installed securely to prevent any vibrations or movements.
- Secure the Motor:
- Use screws or mounting brackets to fix the motor in place. This ensures the motor will remain stable during operation.
4. Install the Limit Switches
- Install the Limit Switches:
- The limit switches are essential for controlling the motor’s stopping points. They ensure that the motor stops automatically when reaching the fully raised or lowered position.
- Install the limit switches according to the motor’s specifications.
- Adjust the Limit Switches:
- Most limit switches come with a knob or slider for adjustment. Set the upper and lower limits of the roller shutter or blind.
- Test the motor to ensure it stops at the right positions.
5. Electrical Connections
- Wire the Motor:
- Carefully follow the instructions in the manual to wire the motor to the electrical supply.
- Ensure that all connections are secure and that the wiring matches the motor’s rated voltage.
- Connect the Control System:
- Install the remote control, wall switch, or automated control system to the motor. If your motor has a built-in receiver for remote control, pair the remote according to the instructions.
- Double-check all wiring connections to ensure they are correctly installed.
- Charge the Battery (if applicable):
- If your motor is battery-operated (as with some WALTER models), make sure the battery is fully charged before starting the installation.
6. Testing and Adjustment
- Power On and Test:
- Once the motor is wired correctly, turn on the power and test the motor’s functionality.
- Check that the motor moves the roller shutter or blind smoothly, raising and lowering it as required.
- Test the Limit Switches:
- Run the motor to both the upper and lower positions to ensure it automatically stops at these points.
- Adjust the limit switches if needed.
- Adjust the Motor’s Operation:
- If the motor runs unevenly or produces noise, check the alignment of the motor with the gear system.
- Ensure all components are tightly installed.
7. Final Installation
- Check Motor and Gear Alignment:
- Ensure that the motor is aligned with the gear system. The motor should operate smoothly, without any noise or vibration.
- Test the full range of the motor’s movement to ensure it works in both directions.
- Secure the Cables:
- Arrange the cables neatly and secure them with cable ties to prevent them from being pulled or damaged.
- Ensure no wires are under strain or exposed.
- Safety Check:
- Verify that all electrical connections are secure and that there are no exposed wires.
- Ensure that the motor and mounting brackets are firmly secured to prevent any loosening during operation.
8. Troubleshooting and Common Issues
- Motor Won’t Start:
- Ensure the power supply is connected properly.
- Check that all wiring connections are secure and correct.
- Motor Runs Unevenly:
- Ensure the motor is properly aligned with the gear system. Adjust if necessary.
- Verify that the limit switches are working correctly.
- Motor Overheats or Makes Noise:
- Ensure the motor is not overloaded. Motors should not operate under continuous high loads.
- Make sure the installation environment is well-ventilated to prevent overheating.
Why Choose WALTER Tubular Motors?
At WALTER, we pride ourselves on offering high-quality tubular motors designed for optimal performance in roller shutters, blinds, and awnings. Here’s why our tubular motors stand out:
- Quiet Operation: Our motors are designed to run quietly, creating a peaceful environment.
- Energy-Efficient: WALTER motors consume less power, which helps save on electricity bills.
- Long-Lasting Durability: Built with high-quality materials, WALTER tubular motors are made to last for years.
- Smart Automation: Our motors come with features such as remote control options, built-in receivers, and more to automate your roller shutters, blinds, and awnings seamlessly.
To learn more about selecting the right motor or for installation assistance, visit www.hualite.cn. Our team is always available to guide you through the selection and installation process.
By following this step-by-step guide, you can ensure the successful installation of your tubular motor. If you need help with any part of the process, feel free to contact WALTER for support.